How not to build a 3D printer
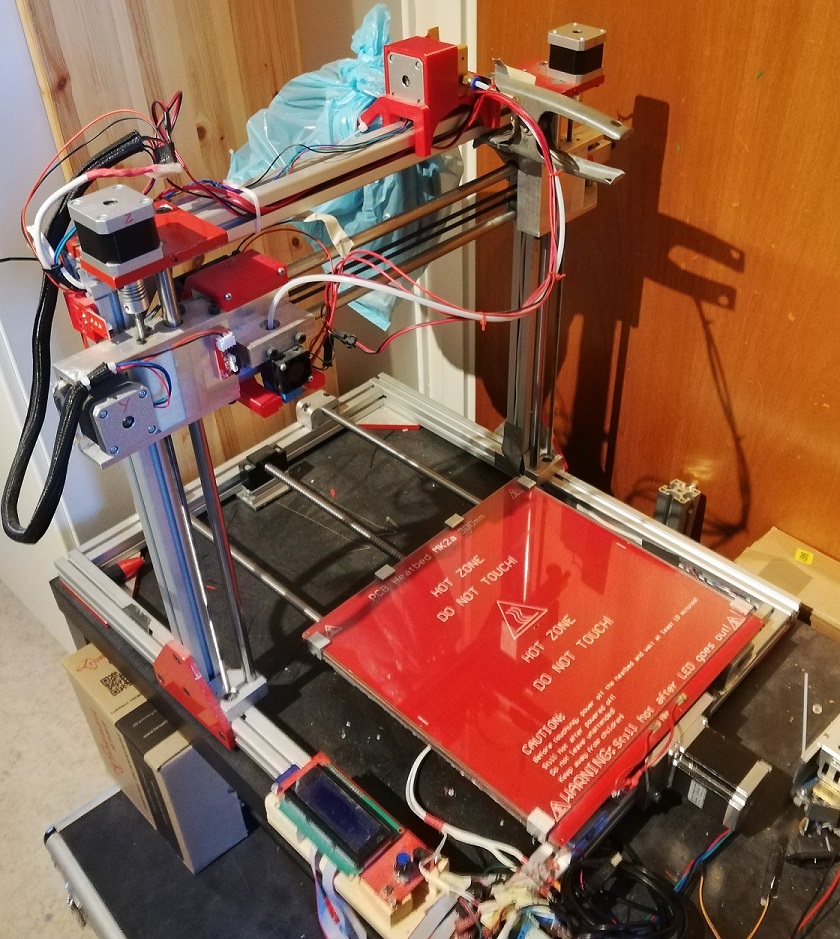
I have a 3D printer. It’s a Cartesian printer with a build volume of 300×300x280mm and it is controlled with a RAMPS board on a Arduino Mega running the software Repetier. It’s frame is based on extruded aluminium profile and the rest of the hardware is milled aluminium.
About 3 years ago when I started to get interested in 3D printing I did some research and, at the time, it would cost me about 1000-1500 euros to get a “Prosumer” 3D printer. This was money I wasn’t prepared to spend on what would mostly be a glorified toy and I wasn’t interested in getting a cheapo kit from China just to keep within my budget. So I thought to myself, “Hey, I’m quite handy with electronics and a lot better than average when it comes to mechanical design, I should be able to build one from scratch.”
And I was right! For a given value of right. After about 3 months I had a working 3D printer of the size and model I described above. It has since then been rebuilt on 2 occasions to improve performance and stability. It still doest have all it’s cables fastened properly and I have been meaning to put the motherboard in a proper enclosure for more than a year but it feels like that’s peanuts compared to everything else I’ve had to do with it.
Budget
I mentioned that 1500 euros wasn’t in my budget, so you might ask yourself what my budget actually was. Well I actually did a lot of research before I started building and this was my initial budget:

440 euros isn’t super cheap, and today you could could get a kit from China for half that. But it is fairly cheap compared to the Ultimakers, LulzBots and Makerbots, and those printers have the quality and rigidity I was Shooting for.
If you’re thorough you might notice that some things are missing from the spreadsheet. But when I started working on this project I were able to get a lot of stuff from my previous job that was headed for the scrap-yard, most notably a lot of aluminium cut off’s and all the fasteners. I also were able to get several old PC power supplies that I thought I could use.
The money spent so far
This budget was not that bad, at first, I got the printer built and semi working with only this. The first extra thing I had to get turned out to be a power supply since the heat-bed I got was for 24 volts, yeah I know, noob mistake. But it taught me to always double check the data sheets.
If it had stopped there I would have deemed the project a success, but as you might have guessed it did not stop there. I have honestly not bothered to keep track of all the money I’ve spent on the printer after that but some of the things I had to buy are: Hardened axles for the X-axis, nema 23 stepper for the X-axis, 12mm Ball Screw for, you guessed it, the X-axis. As it turns out, when you don’t calculate with the weight of your moving components, bad things happen, and you need to reinforce stuff a lot.
I won’t even try to calculate all the money I’ve spent so far but I would guess it’s at least 2.5-3 times my original budget.
Building the 3D printer
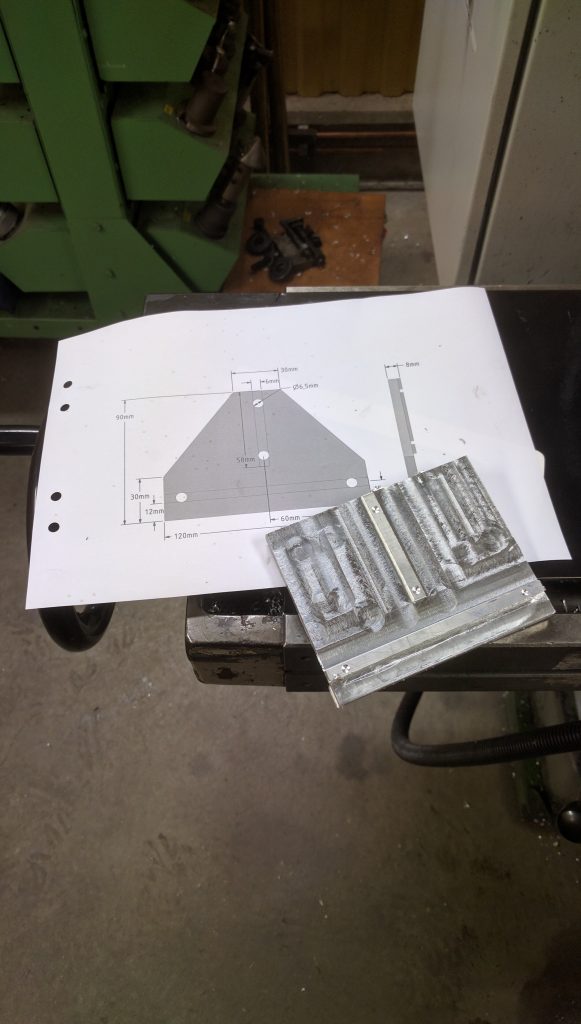

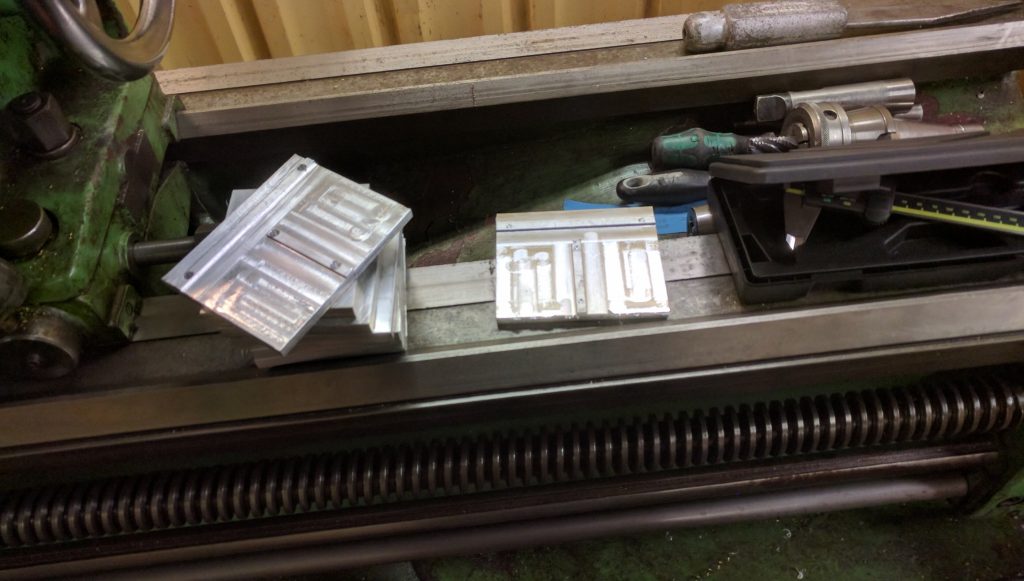
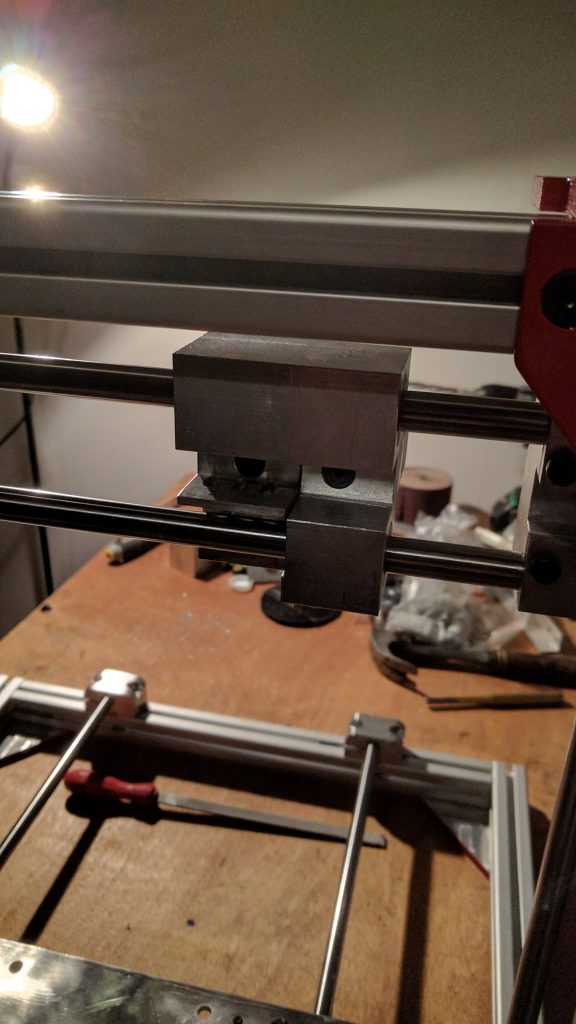
Bracket for the vertical uprights. 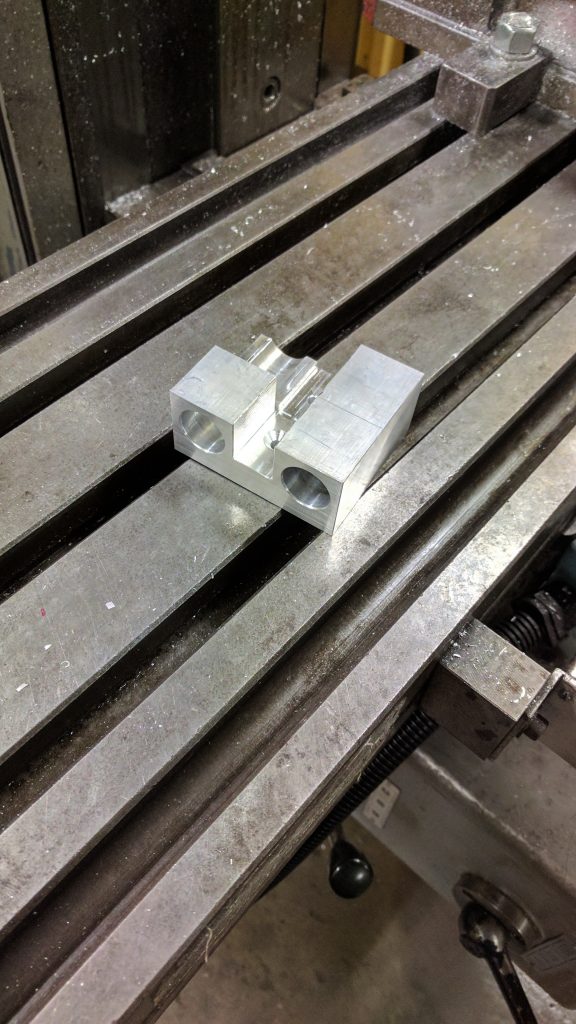

Y-axis body. 
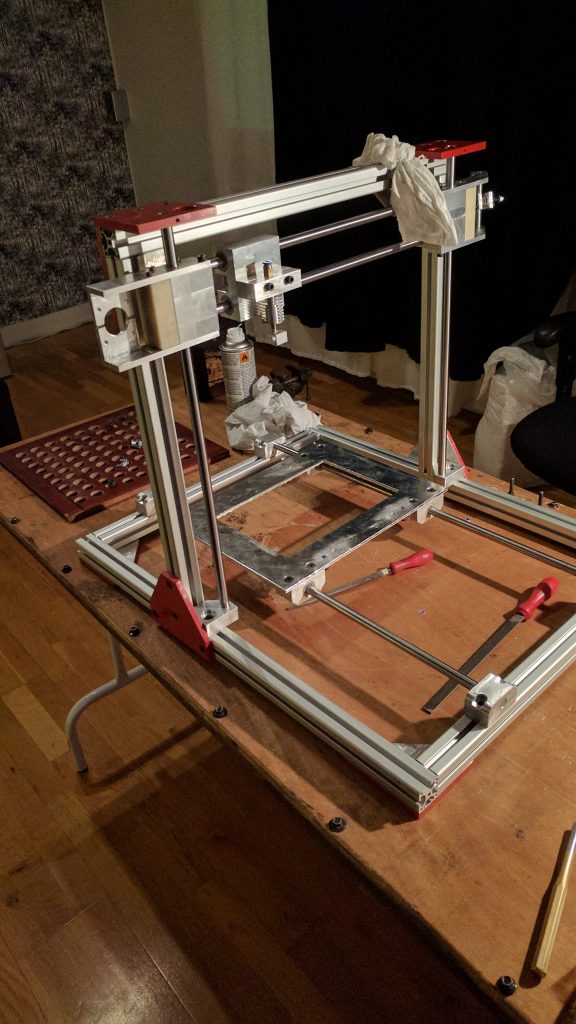
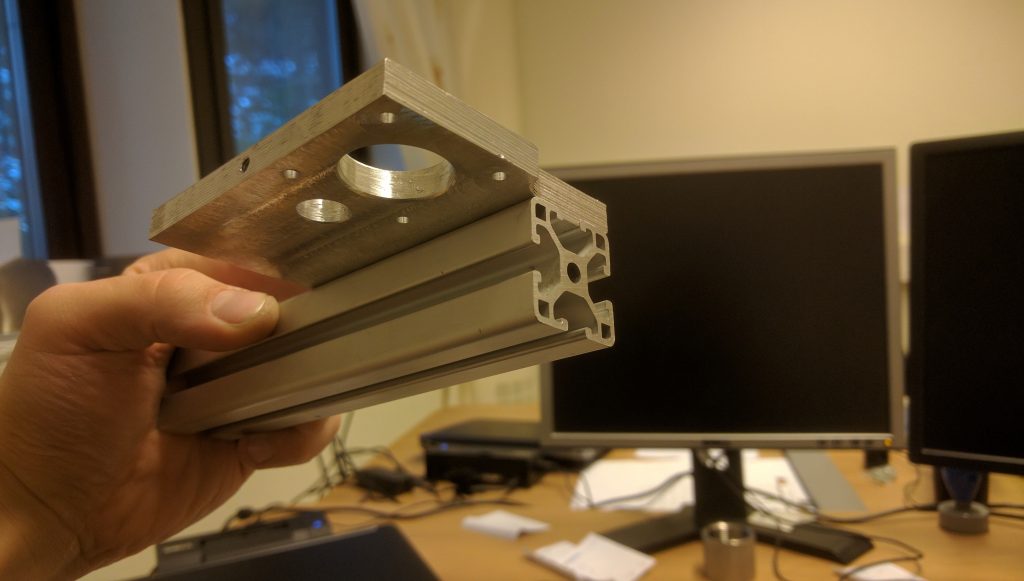
Frame concept 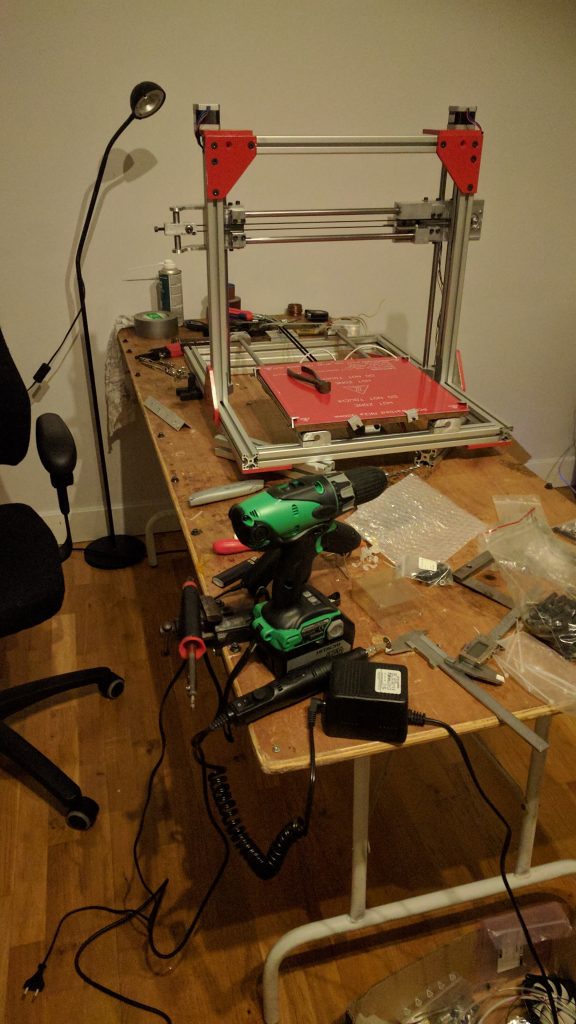
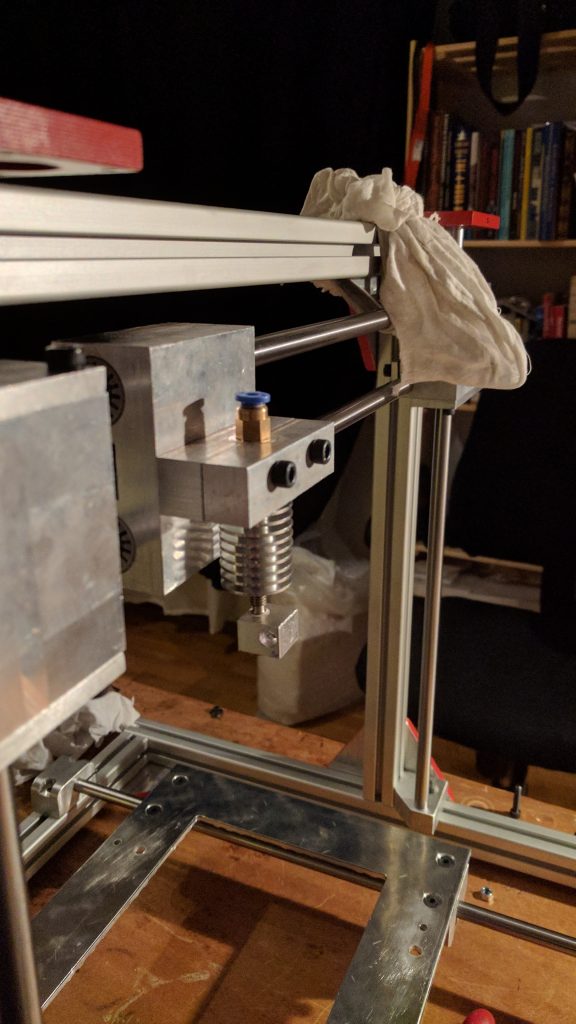
Frame mostly finished.
I chose the build volume fairly early because I thought that 180×180 or 200×200 that was the size of most commercially available printers seemed a bit to small for my liking, I learned later that it is not. That combined with my decision to use steel rods as linear guides gave a lot of headaches. I had seen several printers that used this system without a problem and I figured I could scale the system to fit my build volume.
Lets just say that mechanical components are only scaleable within certain bounds. I have yet to find any practical way to find these bounds without scaling up something and having it fail but the fact remains, scale mechanical components within reason. With the extra weight of my X-axis and the extra length of the steel rods, even when I used 12mm rods instead of 8mm, the X-axis barely moved and had a tendency to bind when the build surface was close to either end of the rods. This led to the extra components I mentioned in the budget section.
The good points of a sturdy 3D printer
A couple of the best decisions were made at this stage however. The IGUS polymer bearings are great, and when used with hardened axles they are close to unbeatable in small, fast motion systems. Using aluminium for the entire printer have led to an extremely solid construction that is as stable as the bedrock. I can pick up the printer and throw it around and I might have to re-zero my Z height afterwards but that’s about it. The sturdy design also has the upside that the 3D Printer can be rebuilt as a PCB mill/Engraver/Laser engraver really easily. I literally only need to remove the extruder and I have 2 M6 threaded holes to use for anything I want.
Electronics and programming


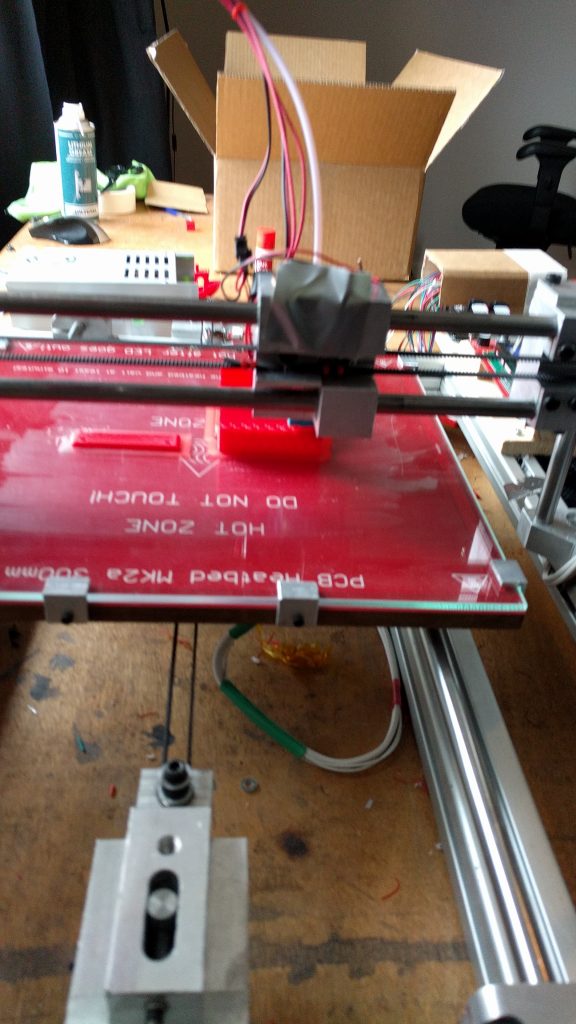
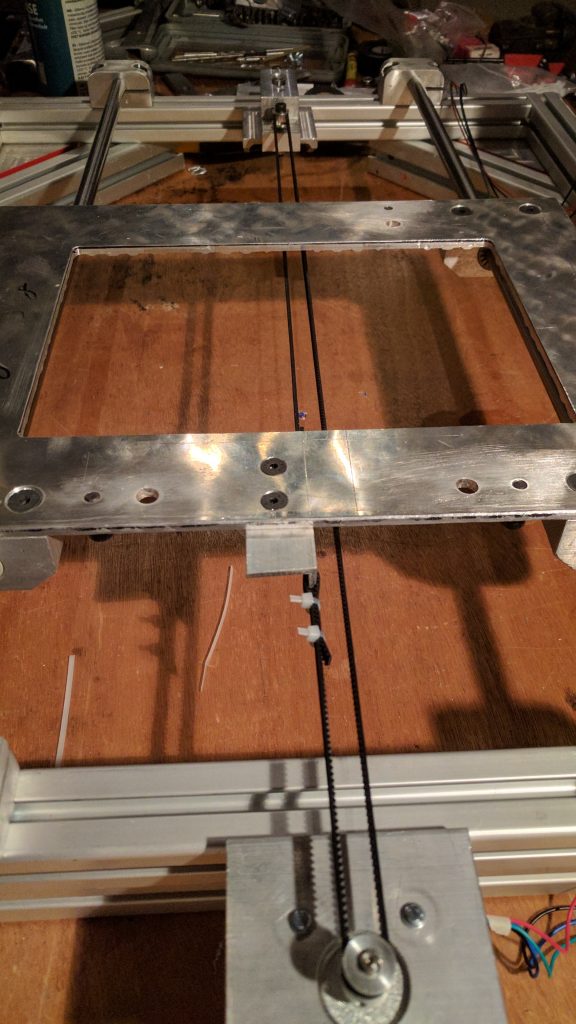
Wiring mess. 
Installing the firmware on the Arduino Mega was my first contact with both C/C++ programming and embedded systems. I had worked with PLC: s before and industrial electronics, but never anything like the RAMPS board and Arduino. Some things are similar but other things are quite different and you need to change your way of thinking a bit when you move from graphical programming to text based programming.
The Arduinos are awesome in many ways but they can’t, in the best of times, be called sturdy. And all the industrial hardware I’ve used is built to be sturdy above everything else. I think I’m on my 3rd, maybe 4th, motherboard. But I’m still using my original RAMPS board, I had to fix it after a small fire and rebuild it to run on 24V, but it is still the original one. So that is almost a success… I think.
Using anything more than 5V close to the arduino poses a risk, and if you try to drive a load higher than about 100mA with the board itself it will probably release some magic smoke. What seems most prone to breaking is the data inputs on the Atmega 8U2 from the USB and the onboard converter. At least on the Megas, since I’ve managed to save 3 of the ones I fried using a serial programmer over the ICSP connectors instead of programming it over USB.
In the end it worked out
It did introduce hobby electronics and text based programming to me, and my interest in these subjects has grown a lot since then, but it might not be the best way to get started. The learning curve was close to vertical, and if I had been anyone else I think I would have given up before learning what I needed to see it through.
Conclusion
Would I do it all again?
NO, NO, NO, Never! The amount of lost sleep this project as given me, the anxiety, and the money it has cost has probably shortened my life. Yeah I’m a bit dramatic for effect, but still, no I wouldn’t.
Am I happy to have stuck to it, and (almost) finished it?
YES! The skills I’ve learned from designing my 3D printer from scratch, and building it, are probably some of the main reasons I’ve got my current job. It also re-introduced me to a hobby I had almost forgotten, making stuff. Check out the About Me page for more info about that. But looking back at it I chose a really bad place to start and there are several things I should have done differently.
How to get started in 3D printing
It would be bad if I wrote an article about how not to get started in 3D printing without telling you how I think you should do it, the bullet points are:
- Kits! Do your homework and buy a good quality kit that is reasonably priced.
- If you only want to use the 3D printer as tool, and don’t have any interest in having the printer as a hobby you should spend a bit more money and get one that works out of the box.
- The kit you buy doesn’t have to be the printer you want. Use the skills you get from building and commissioning the printer to design and build the printer you want if this is the case (This is what I wish I had done)
- Don’t be obsessed about size. Most of the things you might want to print do fit inside a 200×200mm square, if you need bigger than this you can always print it in several parts and glue them together. Since 3D prints have a tendency to fail halfway through, this also lowers the risk of having to restart the print.
And that is about it. If you do it the “right way” it is not that complicated. There are so many resources online today about 3D Printing that if you want to get started there really is no excuse.
Final thoughts
If you decide to ignore the points above and go the same route I did, all I can say is kudos. And take note of the things I have written here so you can learn from my mistakes.
Till next time here are some more pictures from the build.